
This tutorial will show you how to set up a JetHost PRO email account on an Android 5x device.
We will be using a test email account email@yourdomain.com. Of course you will have your own email address so substitute that in the appropriate places.
NOTE: Before proceeding, make sure you have a mailbox created.
To set up your email account via IMAP/POP3/SMTP protocols, do the following:
1. Open Settings of your Android device and tap on Accounts menu in section Personal: 
2. Tap on Add Account at the very bottom of the screen: 
3. On the next screen you will need to choose whether you wish to configure IMAP or POP3 account.
Simply choose the desired option by tapping on Personal (IMAP) or Personal (POP3) correspondingly: 
4. The next screen will prompt you to enter your email address. Make sure to type in full email address: 
5. Once done, tap Next to proceed to the next step.
6. Here you will need to indicate your email account password. 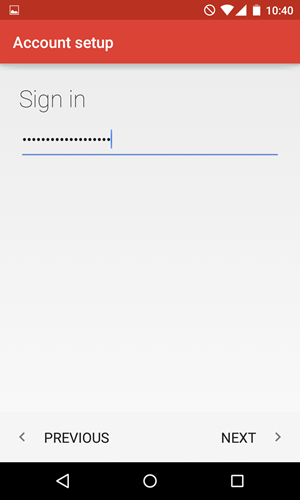
7. Here you will need need to type in correct IMAP/POP3 settings depending on the option you choose.
Make sure to use the following settings for IMAP:
- Username: full email address
- Password: password for this mailbox
- Server: imap.stackmail.com
- IMAP Port: 993
- Security Type: SSL/TLS (Accept All certificates)

8. If you decided to use POP3 protocol, the following settings should be indicated:
- Username: full email address
- Password: password for this mailbox
- Server: pop3.stackmail.com
- POP3 Port: 995
- Security Type: SSL/TLS (Accept All certificates)

9. Once done, tap Next to verify the settings and proceed to Outgoing Server settings menu.
10. Here you will need to fill in the corresponding fields as shown below:
- SMTP Server: smtp.stackmail.com
- Port: 465
- Security Type: SSL/TLS (Accept All certificates)
- Username: full email address
- Password: password for this mailbox

11. Once ready, tap Next to verify SMTP settings and finish the account setup:

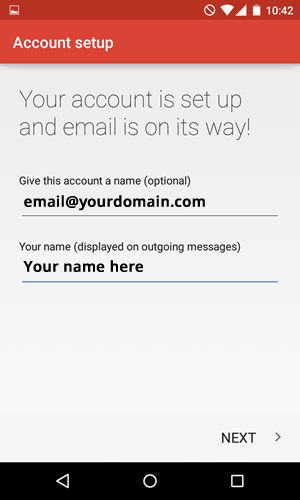
All done!